If you own a Rinnai tankless water heater, you may have encountered an error code 10 at some point. These error codes are essential for diagnosing issues with your unit and can save you time and money on potential repairs. In this article, we will delve into Rinnai error code 10, explain what it means, and provide some troubleshooting steps and solutions to help you resolve the issue.

What is Rinnai Error Code 10?
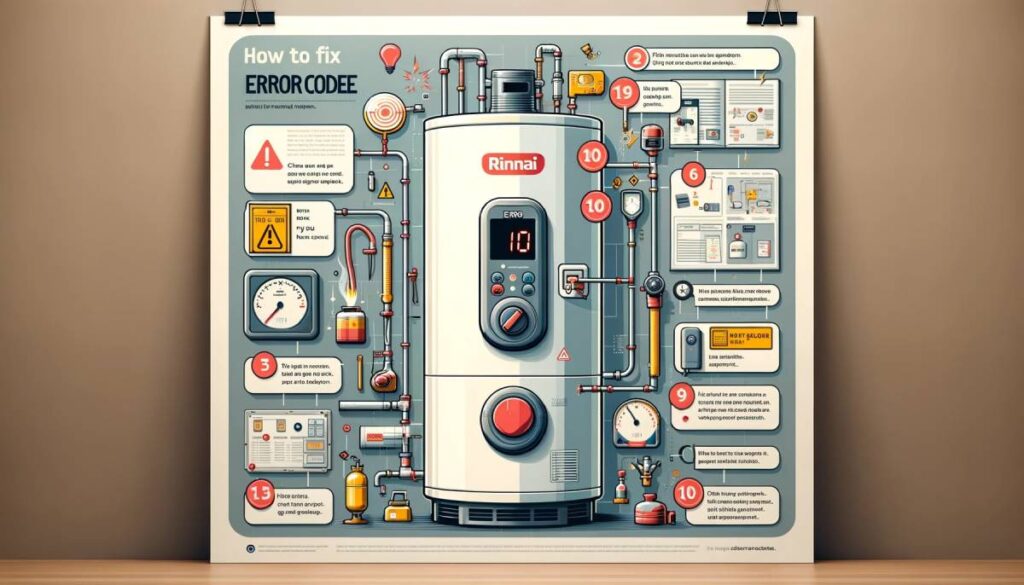
Rinnai error code 10 is a common error code displayed on the digital controller of Rinnai tankless water heaters. This error code typically indicates a problem with the ignition process. When your water heater detects that it cannot ignite the burner successfully, it displays the error code 10 to alert you that there’s an issue that needs attention.
Common Causes of Error Code 10
- Gas Supply Issues: One of the most common reasons for error code 10 is a disruption in the gas supply. It could be due to a gas leak, a closed gas valve, or insufficient gas pressure.
- Ignition Problems: Faulty ignition components, like a malfunctioning igniter or flame sensor, can prevent the burner from lighting properly.
- Ventilation Problems: Inadequate ventilation or blocked vents can affect the combustion process and lead to error code 10.
- Air Supply Issues: Proper airflow is crucial for combustion. If there’s not enough oxygen supplied to the burner, it may result in ignition failure.
- Dirty or Clogged Burner: Over time, dust and debris can accumulate on the burner, affecting its performance and causing error code 10.
Don’t miss: Forza horizon 5 error (Error Code E:47-b)
Troubleshooting Rinnai Error Code 10
To fix Rinnai Error Code 10, follow these troubleshooting steps:
- Check the Gas Supply:
- Initially, turn off all appliances in your home and wait for about 15 minutes. This is to ensure there’s no gas flowing through the lines when you’re checking the Rinnai valve.
- Then, turn on the gas supply and observe if the Rinnai valve opens. If the valve fails to open, it’s likely defective and will require replacement.
- Check the Power Supply:
- Ensure that the power switch is on. If there’s no power, verify that the power cord is plugged in securely.
- Confirm that the power outlet is functional. You can test this by plugging in another appliance to see if it works.
- If the appliance still doesn’t receive power, the issue may lie with the power supply itself. Inspect the power cord and the outlet again for any faults. If everything seems in order, the power supply unit of the Rinnai may be defective and need checking or replacement.
- Check for Gas Supply Line Blockages:
- With all appliances off and the home secured, inspect the gas supply line’s filter. Clean or replace the filter if it’s dirty.
- After ensuring the filter is clean, turn on the gas supply and wait for about 10 minutes before checking the filter again. If the filter gets dirty quickly, it could indicate a blockage in the gas supply line, which might need replacement.
- Inspect the Exhaust Vent for Blockages:
- Remove the covers over the exhaust vents to inspect for any debris or obstructions that might be hindering airflow.
- Check for any damage such as cuts or tears in the exhaust vent and clean it if necessary to ensure proper airflow.
- Examine the Flame Rod:
- Access the flame rod located inside the water tank and test the gas flow by turning the flame rod on and off.
- If the flame rod is not functioning, check for any visible damage and ensure it’s properly connected to both the gas supply and the water tank. Replace the flame rod if it’s damaged.
- Inspect the Igniter:
- Open the Rinnai unit to access the igniter and remove it for inspection.
- Check the igniter for any signs of damage. A damaged igniter will need replacement.
- After inspection and possible replacement, reinstall the igniter and test for proper operation.

When to Seek Professional Help
If you’ve followed the troubleshooting steps and still cannot resolve error code 10, it’s advisable to contact a certified technician. They have the expertise and tools required to diagnose and fix more complex issues with your Rinnai tankless water heater.
Conclusion
Rinnai error code 10 is a helpful indicator that can guide you in diagnosing and resolving issues with your tankless water heater. By checking the gas supply, ignition components, ventilation, air supply, and cleaning the burner, you can often resolve this error on your own. However, if the problem persists, don’t hesitate to seek professional assistance to ensure your unit operates safely and efficiently. Remember that regular maintenance can prevent many issues, so consider scheduling routine checks to keep your Rinnai tankless water heater in top condition.
